In the Garden
When we bought the property, there were a lot of old hay bales in the barns. I decided to try and and do some straw bale gardening.
Let me back up a bit. Last fall, I laid down cardboard and then put old straw on top of it where I wanted the garden area to be. The idea was to kill the grass underneath. At first, I just did one half of the garden. Then, I decided to go ahead an do the rest. Here is a picture of the garden area last fall.
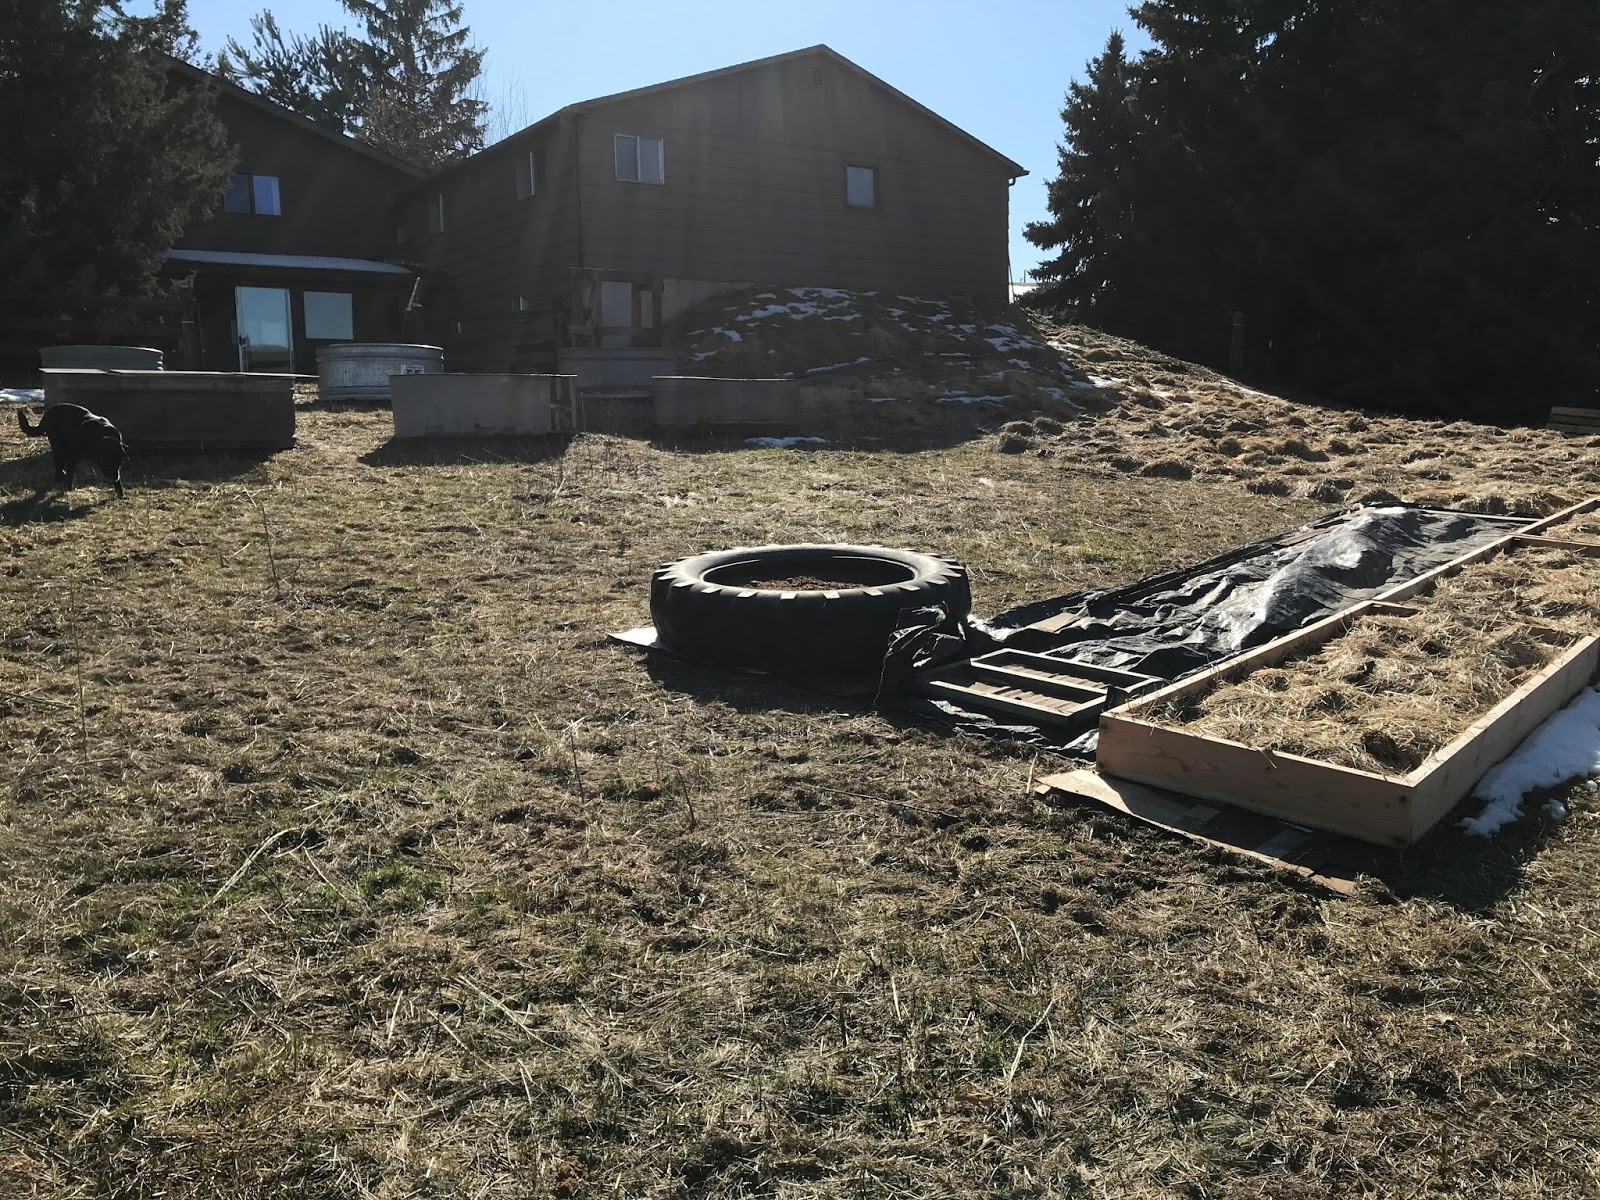
Here is a picture after I laid down all the cardboard and hay. Also, I have the straw bales place here. I have 5 rows of 4 bales on the left side and then 15 individual bales on the right side.

Then, in the spring, I figured out a way to get free wood chips delivered to my house from the electric company!


I used the old hay bales we had but the method is really based on using straw bales. There are advantages and disadvantages to each kind of bale. It is more than just planting into straw bales. You have to first condition the bales. The idea is that you add a high nitrogen liquid fertilizer over several days at the beginning of the season to start decomposing the middle of the bale. Then, you can plant into the top of the bale once it has cooled down. I tried to plant some potatoes into one of the bales and then the next day I decided to check the temperature and it was 145 degrees! So, I basically baked those taters.
It is easy to use a meat thermometer to monitor the inside temperature of the bale (which I should have done before I planted those potatoes). Not only do you have to take note of the bale temperature but it has to be a certain daily temperature to get the bales to condition properly. I tried to condition some bales the beginning of April and it did not work well. It seems that daytime temperatures should be consistently around 50 degrees.
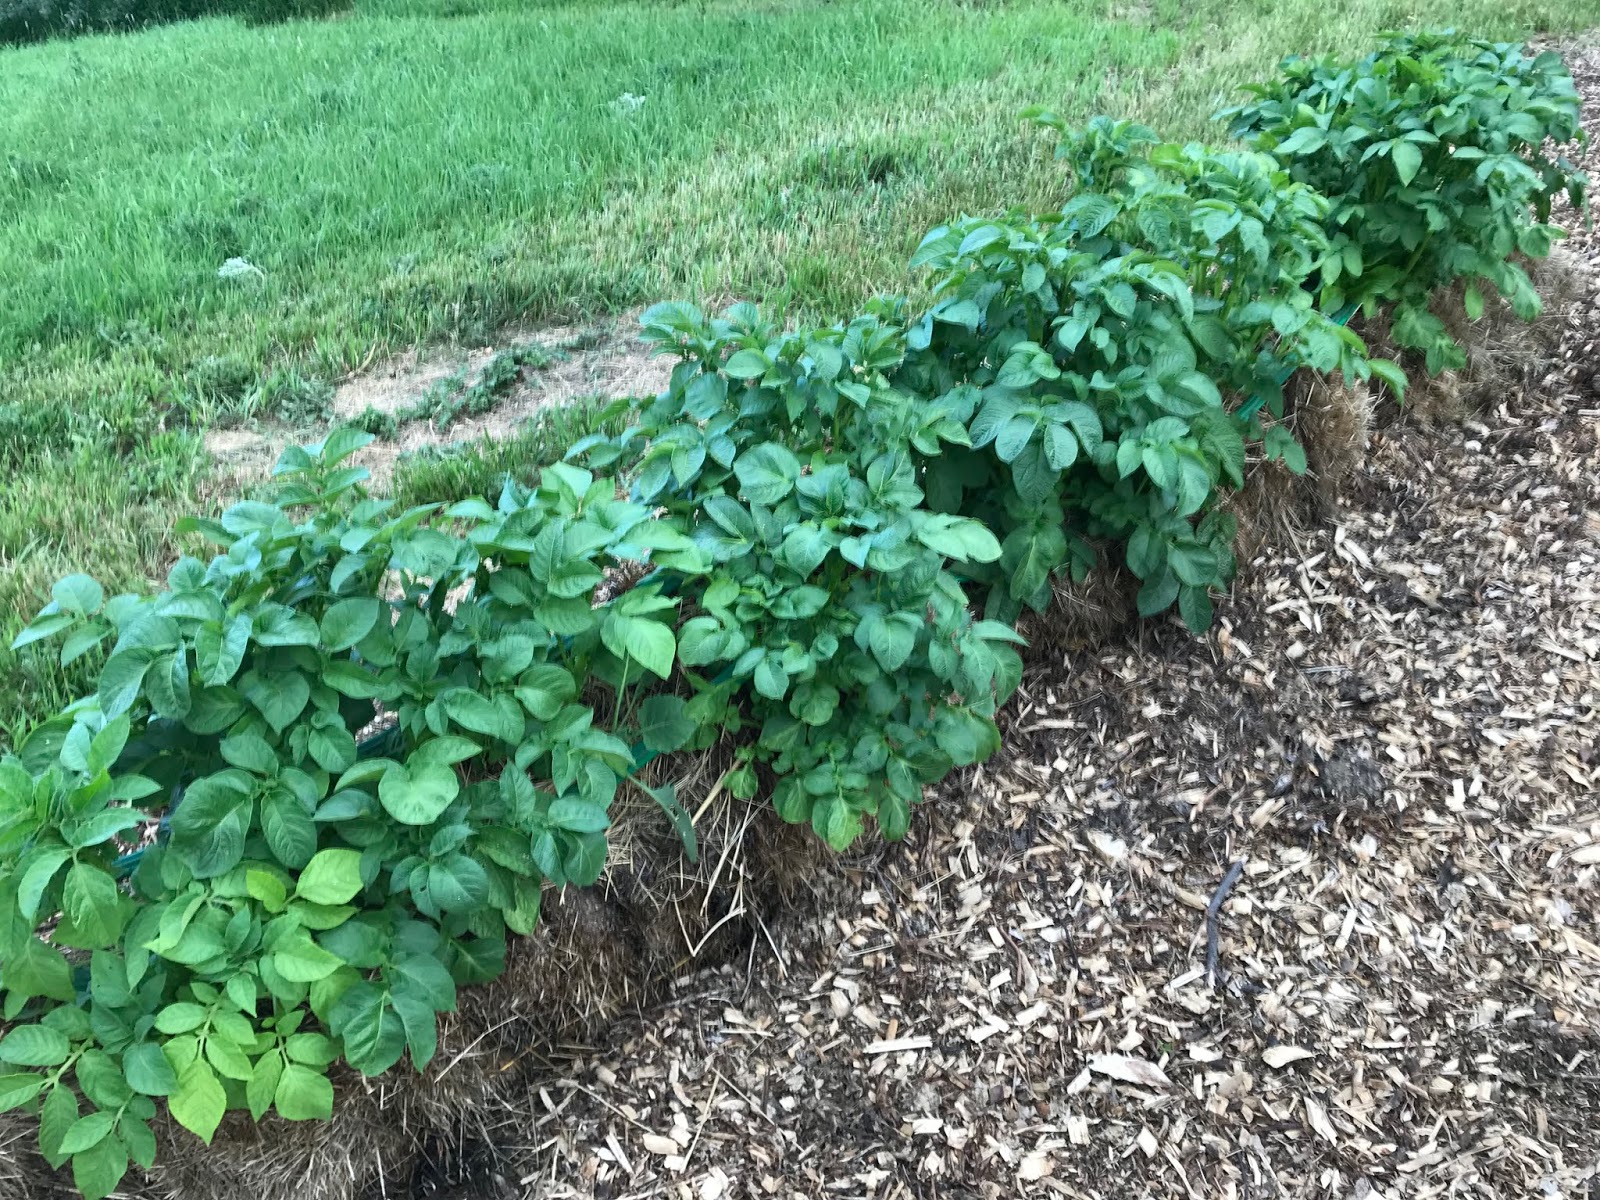
I actually had to re-plant the potatoes 3 times. I was ready to totally give up on this method for potatoes but then they finally started to take off and they are super easy to harvest! Love the straw bale gardening for potatoes and will use it in the future. I also really liked the straw bale gardening for the tomatoes which got some many tomatoes that they fell over. I am going to have to make a sturdier trellis next year.
I put some soaker hoses on the top of the bales for watering.

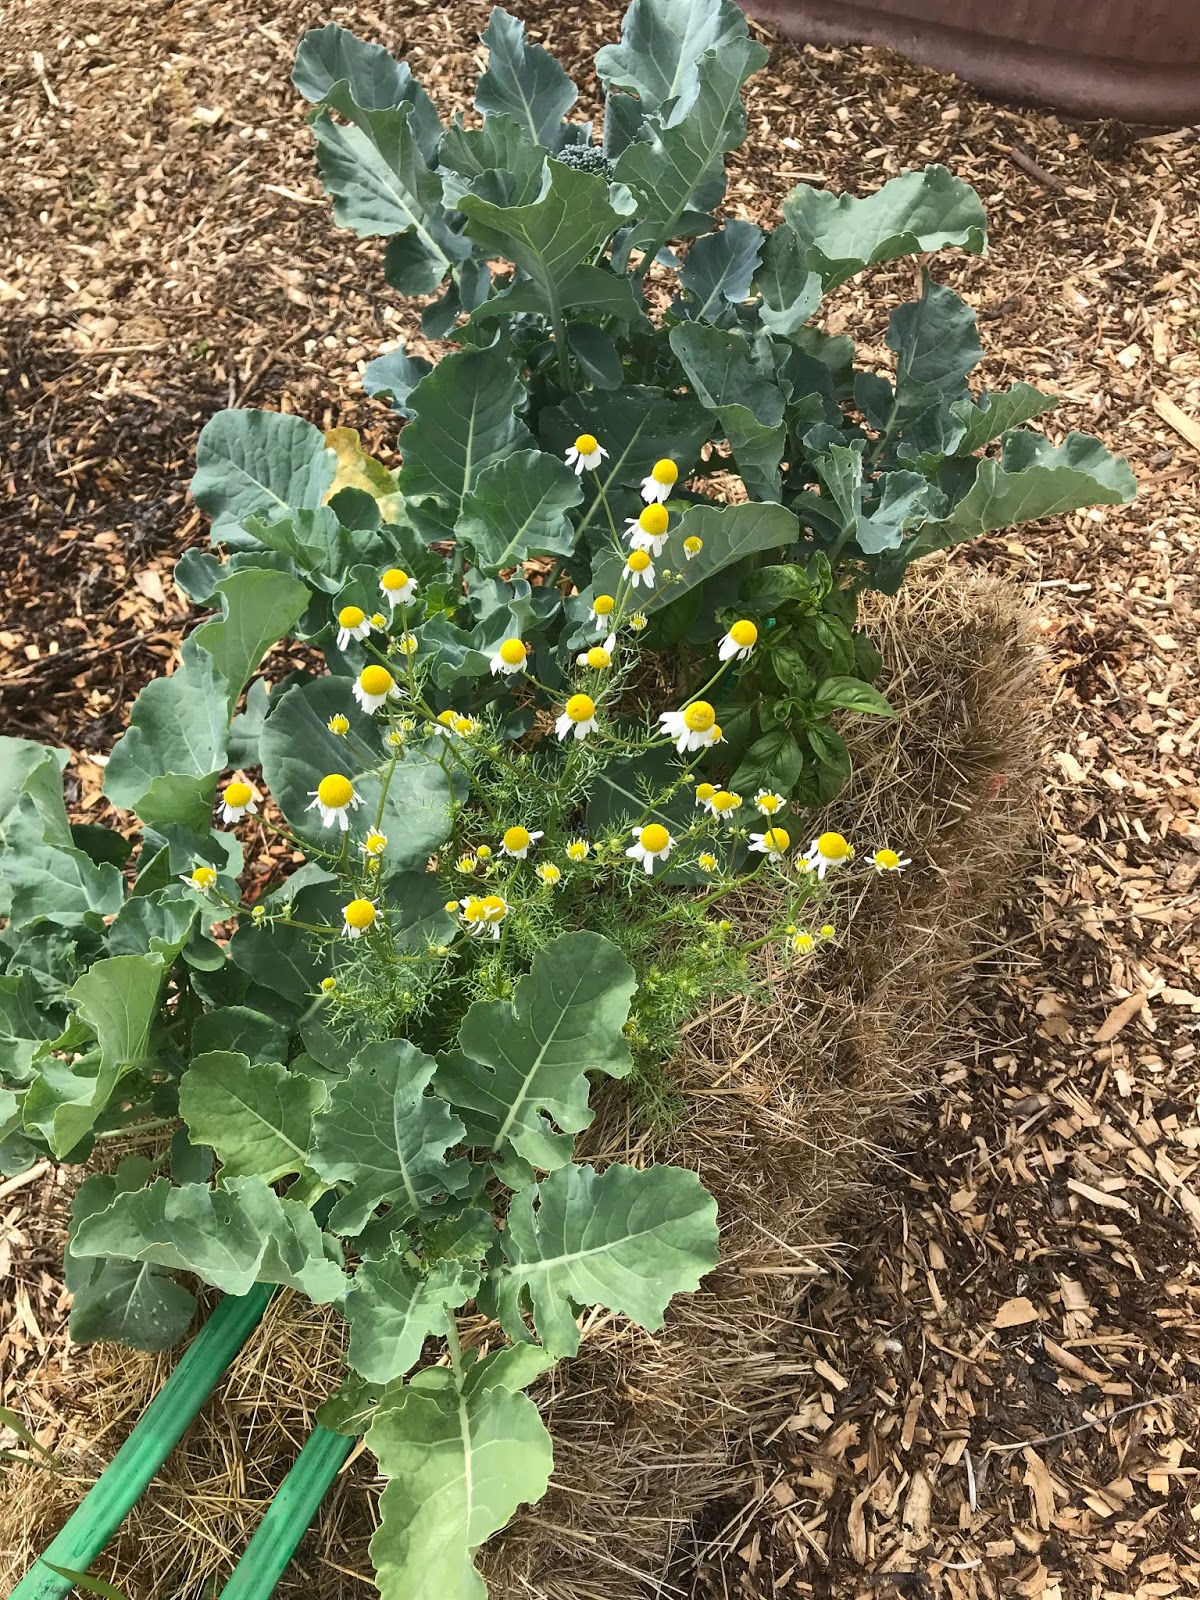
Here is a bale with broccoli and chamomile and basil (but it’s hard to see the basil under the broccoli).

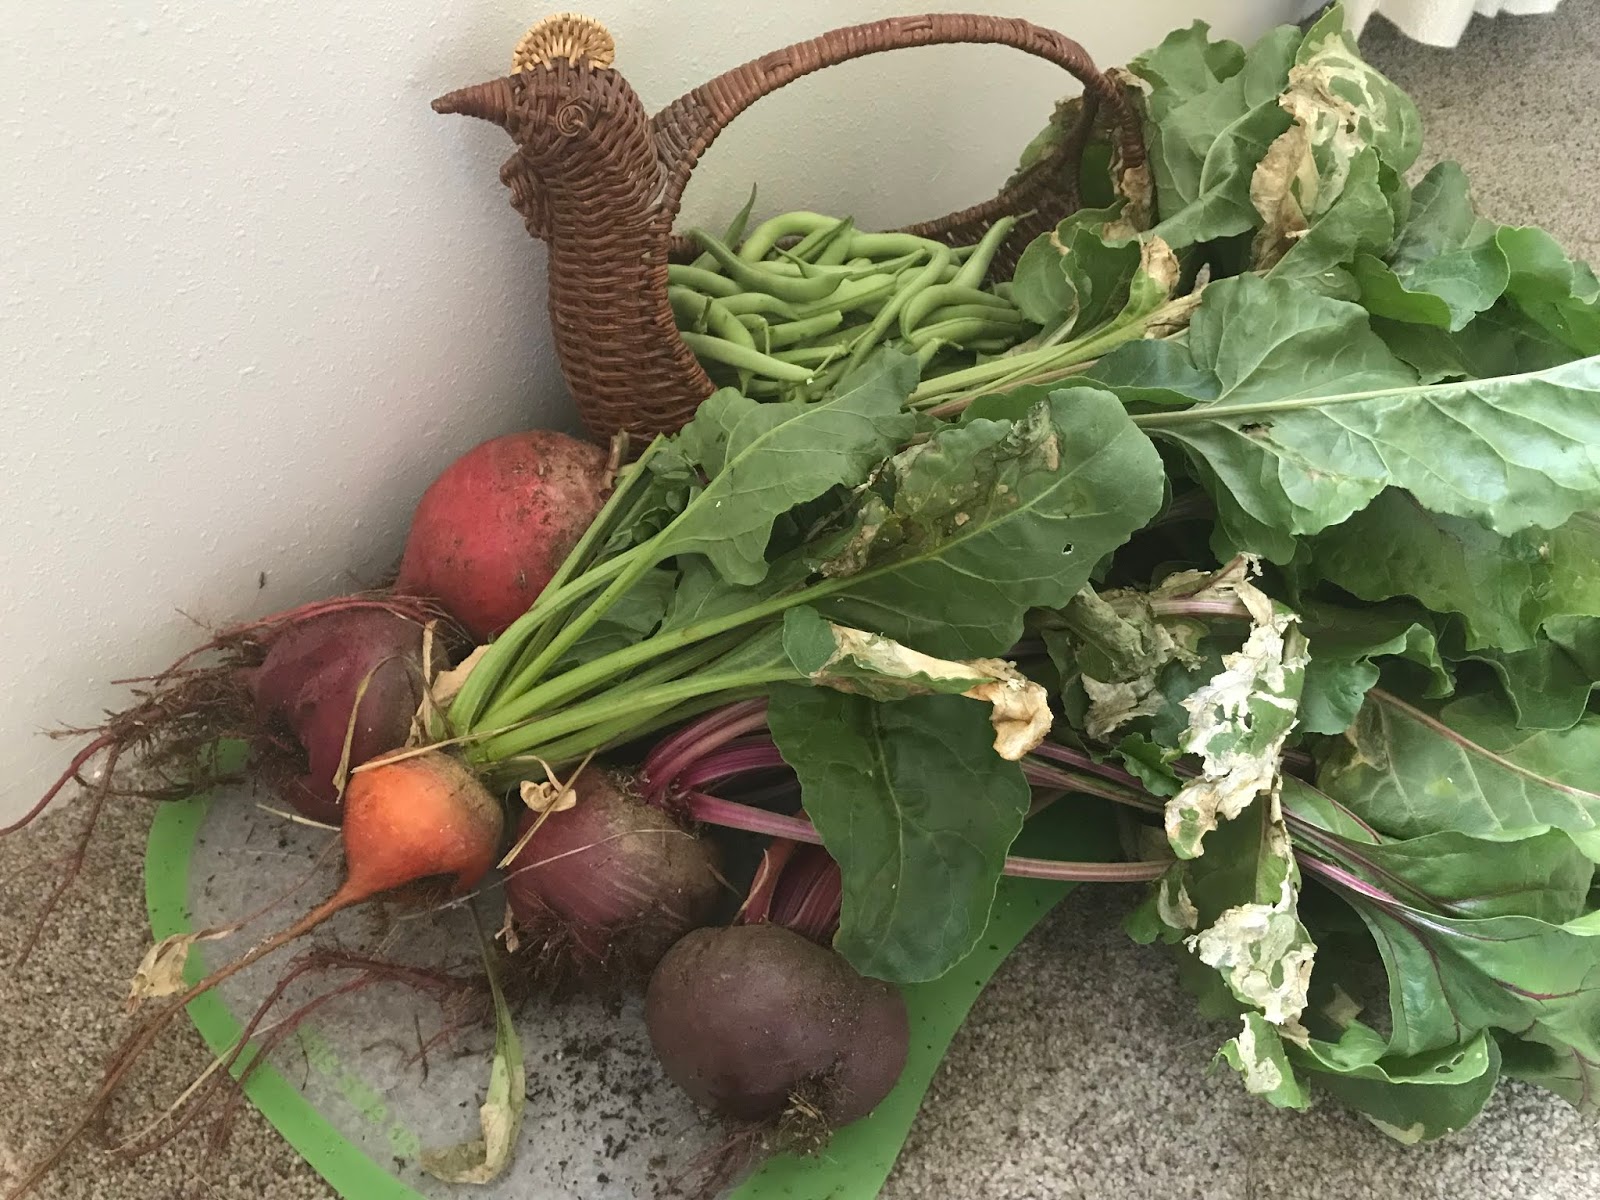
I am going to call the straw bale gardening mostly a success but there are some things that I think I would just rather plant into dirt. The biggest drawback of the method to me is the surface area of the bale is so small. I wish I would have put 2 bales side by side to make more area for planting. The beets and onions did really well in the bales. I think I would rather plant peppers, eggplants, broccoli and cauliflower in raised beds.
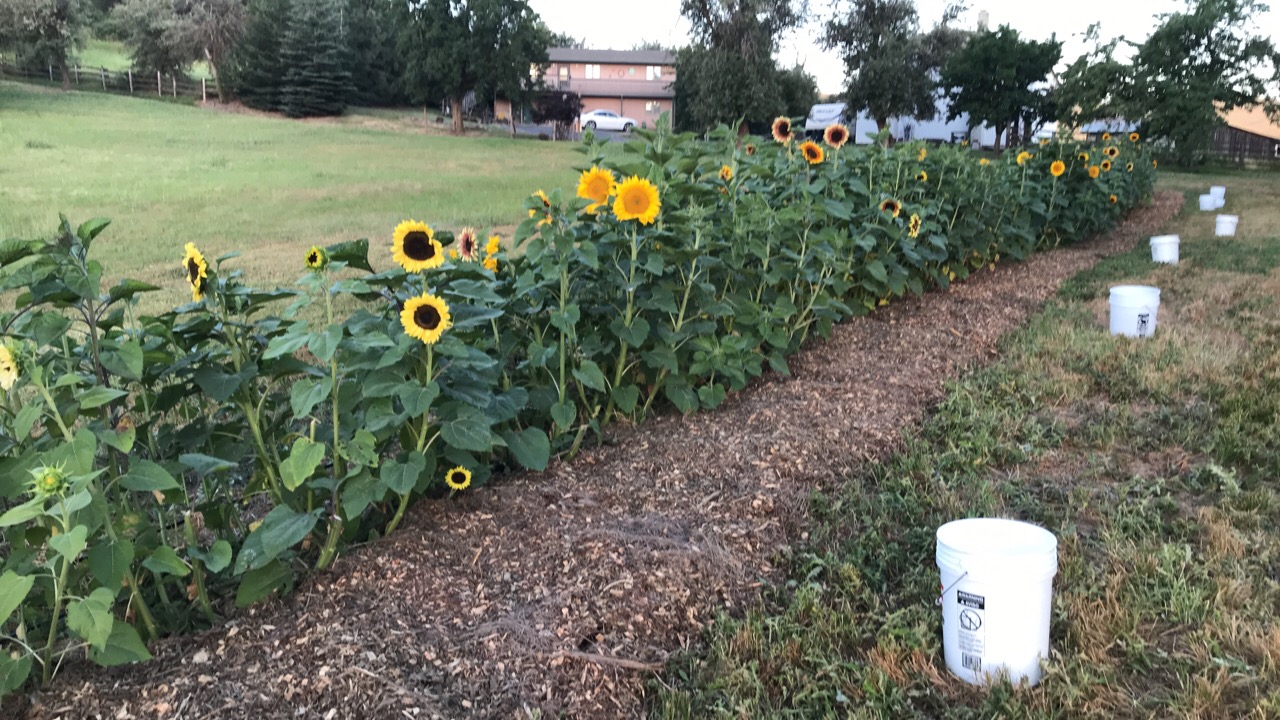
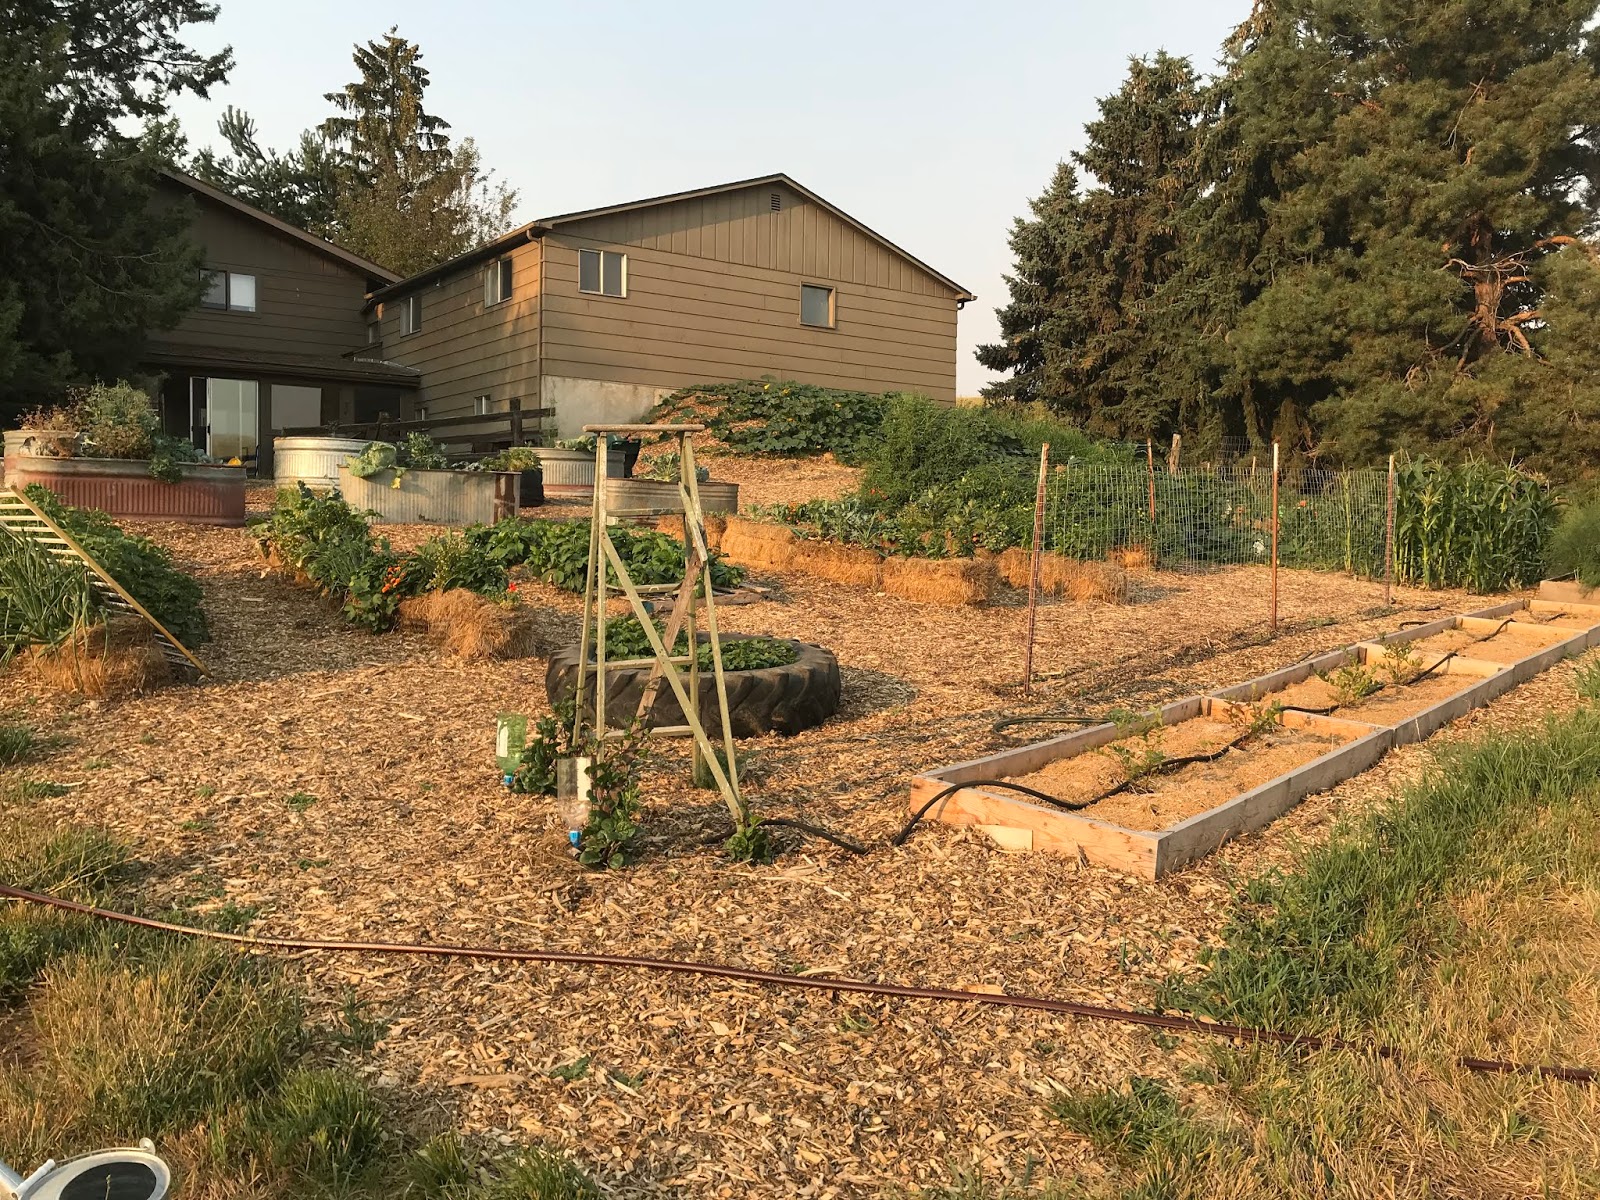
Here is a recent picture of the garden…
~ Denise